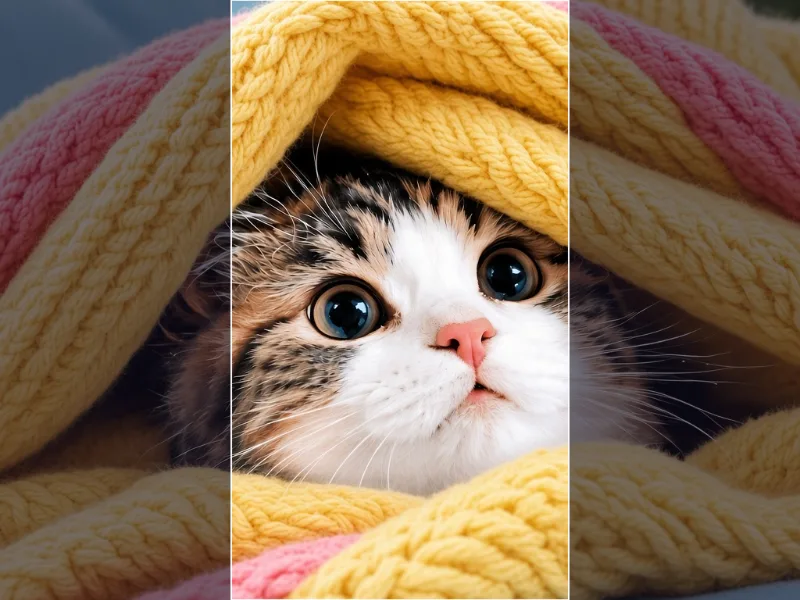
What free browser photo editing covers here
PixDazzle is a set of pages, each with one editor. The practical pages live under Tools. The stylistic pages live under Effects. Both kinds load the same editor shell: you choose a file, the browser decodes it, a canvas preview updates as you move controls, and a download button encodes a new file on your device.
The tools are Pixelate Image, Blur Image, Resize Image, Crop Image, Compress Image, Grayscale Image, Image to Line Art, PNG to JPG, JPG to PNG, WebP to JPG, and JPG to WebP. The effects that ship with a working editor are Mosaic, Hexagonal Mosaic, Triangular Mosaic, Pixel Art, Cartoonize, Puzzle, Light Leak, Cutout, Kuwahara, Pop Art, Sketch, Watercolor, Glowing Light, Reflection, and Wave. Each effect renderer is loaded only when you open that effect, and each tool renderer is loaded only when you open that tool.
Shorter guides sit beside those pages for one decision at a time: blur versus pixelate, the blur steps, social sizes, YouTube thumbnails, file size, formats, WebP to JPG, pixel art, pencil sketch, coloring pages, a square crop for a round profile photo, watercolor settings, changing image color with effects, choosing among browser editors, and background changes, which PixDazzle does not perform itself.
How the editor opens a photo
You add a photo by dragging it in, choosing a file, or pasting from the clipboard. The accepted MIME types are image/jpeg, image/png, and image/webp. Anything else stops with the message to use a JPEG, PNG, or WebP image. The page reads those bytes in the tab.
Decoding uses createImageBitmap on the File object. If the browser cannot decode it, the editor reports that and stops. After a successful decode, the pixel count is width times height divided by one million. Above 48 megapixels the bitmap is closed and the editor asks for a smaller photo. The cap is there so a huge canvas does not exhaust the phone.
Two bitmaps are kept. The original is the full decoded image and is what export draws from. The preview is a copy whose longest edge is at most 1280 pixels, drawn on a canvas and turned back into a bitmap. Live controls render against that smaller preview so dragging a slider stays responsive. When you download, the same renderer runs again on the original bitmap, then canvas.toBlob encodes PNG, JPEG, or WebP.
The default JPEG and WebP quality on a general export is 0.92. PNG encoding does not use a quality slider. The browser must support canvas WebP encoding before WebP is offered as an export format. If encoding returns no blob, the editor tells you to try another format.
The download itself creates an object URL, clicks a temporary link with the download attribute, and revokes the URL. The file lands in the folder your browser uses for downloads.
What no upload means for these tools
Local processing here is a code constraint, not a slogan on the button. The directories that touch pixels (effects, tools, the editor components, and the image helpers) are checked so they do not call fetch, XMLHttpRequest, sendBeacon, WebSocket, EventSource, or FormData. Pixel work is canvas 2D: draw the bitmap, read image data, write it back, encode a blob.
The working photo is held in memory for the life of the tab so you can open another effect without picking the file again. That store is a module variable in the page. A refresh or a closed tab clears it, because the variable goes away with the page.
Moving from one editor to another inside the tab can carry that in-memory file. The carry request lasts 30 seconds, which is long enough for a slow route to load, and it is forgotten after the next editor takes it. If you come back later, you see the normal file picker again. While the tab is still open, a small resume card can offer the same file so you do not pick it twice.
Favorites and recent effects are the exception that stays after a refresh, and they are names only. The browser's local storage holds effect slugs under pixdazzle:favorites (up to 24) and pixdazzle:recents (up to 8). The lists contain no image bytes. Clearing site data removes them. If storage is blocked, the site still edits.
Share behaves the same way. Native share and copy image hand the encoded blob to the operating system or the clipboard from the tab. Buttons that copy a link copy the tool or effect page URL, not the photo. The privacy page states that a shared or copied image does not pass through PixDazzle servers.
Local editing still leaves a file on the computer
The download, the browser's download history, and a shared computer are outside the tab. Delete the export if the photo should not stay in that folder.
What the site still records
PixDazzle uses Seline for analytics. The privacy page describes page views, the referring site, browser and device type, and an approximate region. Product events are a separate, allow-listed set. They can include which effect or tool page you opened, that an image load or download started or finished, which preset or control changed, the input and output format, a quality number, a device class of mobile, tablet, or desktop, and a coarse error kind such as a failed export.
Image size and processing time are sent as buckets, not as exact measurements of your file. Size buckets are under 1 megapixel, 1 to 4, 4 to 12, 12 to 24, and over 24. Duration buckets are under 100 milliseconds, 100 to 300 milliseconds, 300 milliseconds to 1 second, 1 to 3 seconds, and over 3 seconds. Effect search records how long the query was and how many results came back. It does not record the words you typed.
Event properties are filtered before they leave the browser. Only the allow-listed keys are kept. Strings are trimmed to 48 characters, and anything that looks like a path or a filename with an extension is dropped. The editor code is also checked so a tracking call cannot pass the file name or a data URL. Hosting and the analytics provider may still see technical request data such as an IP address, which the privacy policy states. That is request metadata for the HTML and scripts, not the photo.
There is no account, so there is no profile to attach a photo to. The privacy page also says the site does not show ads today.
Resize, crop, and compress
Resize Image scales by percent, by width, by height, or to an exact width and height. Percent, width, and height keep the original proportions. Exact size can use Fill and crop, which trims the overflow, or Stretch, which distorts. Large reductions are drawn in halving steps, because a single downscale can alias in some browsers. The preview keeps the source shape so the frame does not jump. The exported file carries the new pixel size, and the download panel shows that size.
Output is limited to 8000 pixels on the longest side and 64 million pixels in total. The resize page notes that some phones limit canvas size further, so a very large export can still fail there. Enlarging adds pixels and does not add detail.
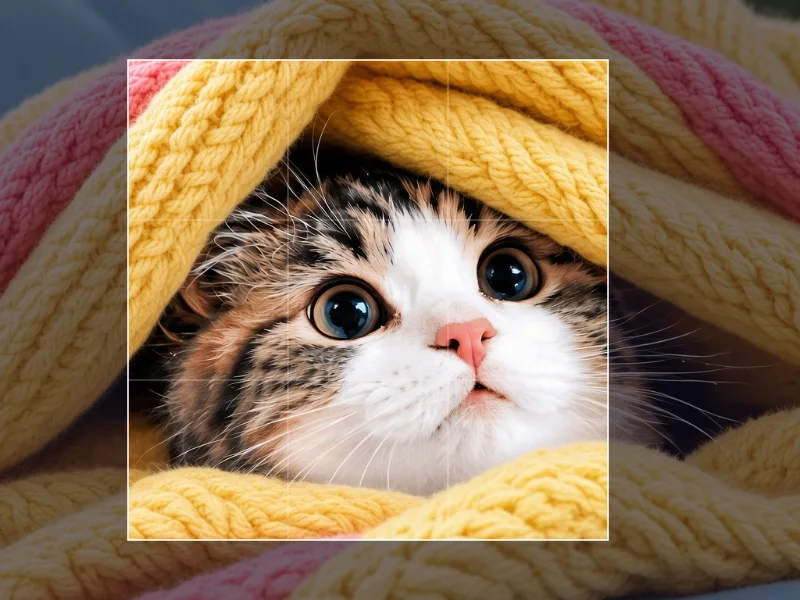
Crop Image frames the original, then exports only the rectangle inside the frame. Ratios are Free, Original, 1:1, 4:3, 3:2, 16:9, and the portrait pairs 3:4, 2:3, and 9:16. You place the frame with position sliders. Rule-of-thirds lines are drawn on the overlay. The crop keeps the selected pixels at their original size. Choosing JPEG or WebP at export still applies that format's compression, so PNG is the lossless copy of the crop.
Compress Image is the file-size tool. It exports JPEG or WebP, not PNG, because a PNG quality slider would not shrink a lossless file. The default quality is 0.75. You can also cap the longest edge. Presets are Web 1920 and Email 1280, and the edge is never increased. The size shown before download is measured from the encoded blob. Above 12 million pixels the editor skips the extra encode that only exists to display an estimate, so very large photos may not show a running byte count until you export.
Blur and pixelate before you share
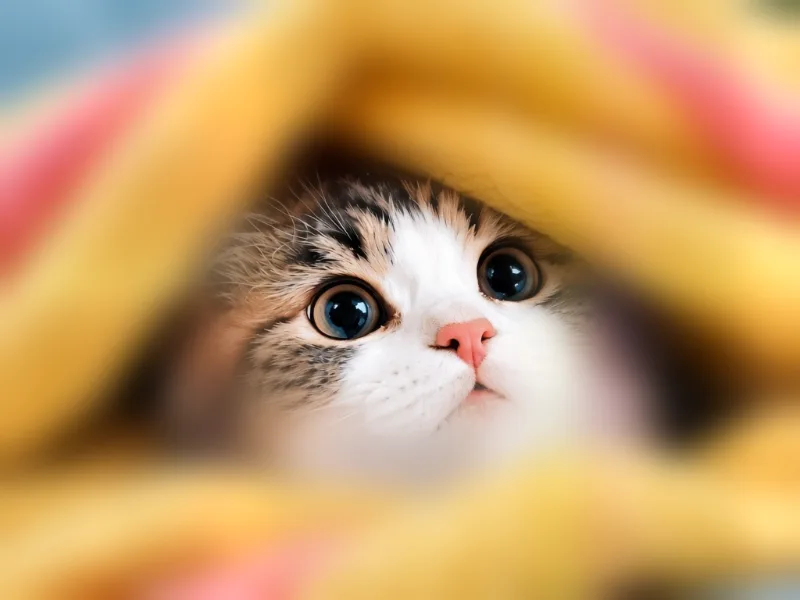
Blur Image softens the whole frame, or keeps a sharp oval in the center. Strength is a 0 to 100 amount. At 100, the radius is 6 percent of the longest edge, so the same slider position means the same relative softness on the 1280 pixel preview and on the full export. The blur is three box passes, which approximate a gaussian. When the radius is large, the filter runs on a smaller canvas and is scaled back up, because the softness hides that shortcut.
Sharp center is an ellipse matched to the picture's aspect, opaque in the middle and feathered out with a radial gradient. The oval stays centered. The default amount is 30, with focus off. The tool page presets are Soft, Strong, and Sharp center. The blur tool offers the full frame and that centered oval.
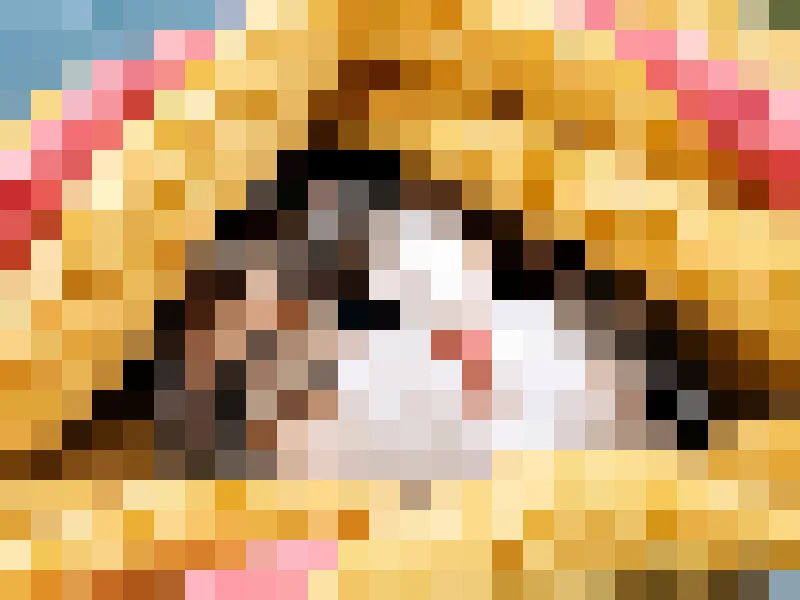
Pixelate Image divides the picture into a grid and fills each cell. The block count is measured along the longest edge, so 48 blocks looks the same at preview size and at export size. The default is 48 blocks with average sampling, which fills each cell with the average color. Sampled mode keeps one pixel per block for a harder edge. Presets are Light at 120 blocks, Medium at 48, and Heavy at 16.
Both tools hide detail from a glance. A light blur can be partly sharpened, and small pixel blocks can still leak letter shapes. The pixelate versus blur guide explains that, and the blur guide gives a four-step check before you post. If the information must be gone, crop it out or cover it with a solid area before export. The editor cannot do that cover for you.
Grayscale and line art
Grayscale Image converts color using luminance weights of 0.2126 red, 0.7152 green, and 0.0722 blue, which follow how bright those channels look, rather than a flat average of the three. An amount slider mixes that gray back with the original color, so you can leave a muted tint. Brightness, contrast, and a tone of neutral, warm, or cool adjust the gray. Warm multiplies the gray by 1.06 on red and 0.9 on blue. Cool uses 0.92 on red and 1.07 on blue. The tool page presets are Classic, High contrast, Soft fade, and Warm mono.
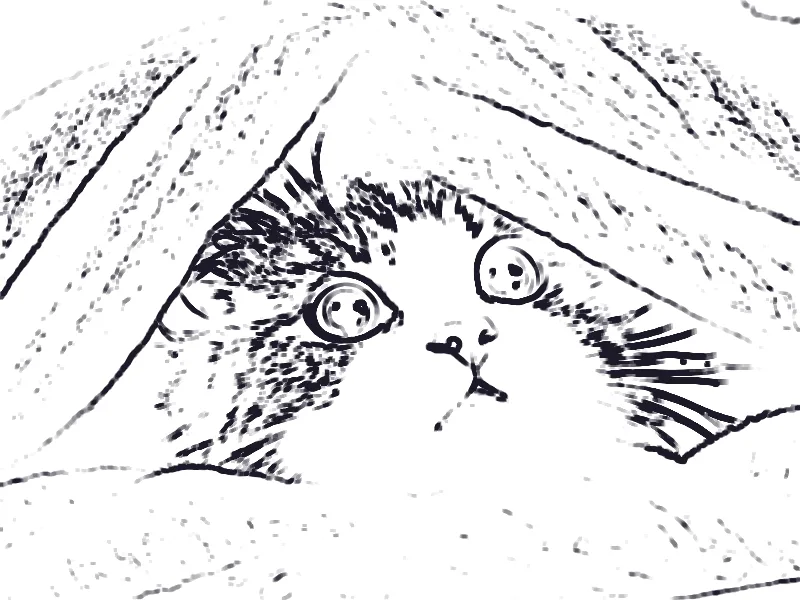
Image to Line Art finds edges and draws them as ink on paper. The ink is a near-black RGB of 28, 26, 40 on white. An invert option swaps those colors for a chalkboard look. Line thickness is scaled against a 1000 pixel reference edge, so a large photo and its preview keep a similar line weight. Transparent pixels are treated as paper so they do not grow outlines. Busy textures produce more edges. Raise smoothing or lower detail when the page looks noisy. Presets cover a coloring-page setting, a finer setting, and the inverted chalkboard setting.
Convert between JPG, PNG, and WebP
Four converters share one raster renderer. PNG to JPG and WebP to JPG default to JPEG quality 0.92. JPG to WebP defaults to 0.85. JPG to PNG uses PNG, so the quality value does not add loss on top of the file you already have. Converting a JPEG to PNG does not recover detail the JPEG already discarded. It only stops later saves from adding another lossy pass.
JPEG cannot store transparency. When the output is JPEG, transparent pixels are filled with a background color that defaults to white. You can change that color in the control. The longest-edge cap from the shared raster settings defaults to the original size and never enlarges the picture. Compress Image is the page to use when the goal is a smaller JPEG or WebP and the input type does not matter.
Photo effects that use the same private editor
Every shipped effect declares a canvas 2D engine. Cartoonize, for example, simplifies color levels and draws edges in the browser. Its description on the effect says no AI is required, which matches the code: there is no model download and no request that sends pixels to a service. The same is true of the other effects in the registry. Mosaic, Hexagonal Mosaic, and Triangular Mosaic rebuild the photo as tiles. Pixel Art reduces the picture to chunky pixels with palette and dither controls. Sketch, Watercolor, Kuwahara, and Cartoonize push the photo toward a drawn look. Pop Art uses flat bands and halftone-style dots. Light Leak and Glowing Light add light treatments. Reflection draws a mirror or water strip. Wave displaces pixels along sine patterns. Puzzle slices the photo into pieces. Cutout reveals the photo through stacked torn-paper shapes. It does not cut the subject out of the background.
Effects and tools share the editor, so the privacy path is the same: decode locally, preview at up to 1280 pixels on the long edge, export from the original bitmap, keep the file in tab memory. Trying another effect can reuse that memory. The renderer for an effect is code-split, so you download that effect's script when you open it, not the pixels of someone else's photo.
Open an effect for a look across the whole frame, and a tool for a dimension, a format, a file size, or concealment.
A practical order for a browser edit
Work from a copy and leave the camera original alone. The editor never writes back over the file you picked. It only offers a new download.
Decide the frame before you stylize. Crop to the ratio, then resize to the pixel size the destination wants. The social sizes guide lists common starting points such as 1080 by 1080, 1080 by 1350, and 1080 by 1920. Fill and crop on an exact resize trims from the middle, so an off-center subject should be cropped with the position sliders first.
Hide anything that should not ship, using a strong blur, a heavy pixelate, or a crop that removes it. Check the export at full size. Then apply grayscale, line art, or an effect if you still want a look. Stylizing first can make text harder to judge.
Compress or convert last, because those steps encode the pixels you intend to keep. Reopen the downloaded file once. Confirm the extension, the dimensions, and that the concealed areas are still concealed after encoding.
- JPEG, PNG, or WebP in, under 48 megapixels.
- Crop, then resize, then conceal, then a look, then compress or convert.
- PNG when you need the crop without a new lossy pass. JPEG or WebP when the destination wants a smaller photo.
Background changes and jobs this site skips
The tool registry has no background-removal tool, no mask brush, and no layer stack. The change-photo-background guide says that directly: local processing applies to the editors that exist, and a replacement background is a different product. Cutout is a torn-paper effect, not a subject cutout.
Blur covers the full frame or a centered oval. Pixelate covers the full frame. Crop position uses sliders. The file picker takes one still JPEG, PNG, or WebP.
When the job needs layers, type, or a real cutout, use an editor that documents those controls, and read how that editor handles files before you open a private photo. After you export a still from that editor, PixDazzle can still crop, resize, blur, pixelate, compress, or convert the copy. The free photo editing apps guide sorts those jobs: focused tools for a single change, a design app for layout and type, a layer editor for compositing.
Limits of editing inside the browser
The 48 megapixel input cap and the 8000 pixel resize edge are hard stops in this codebase. A phone can fail sooner if its canvas implementation refuses a large bitmap. The preview you judge while dragging is at most 1280 pixels on the long side, so fine type and thin halos need a look at the downloaded file.
File-size estimates are skipped when the output is over 12 million pixels, because encoding only to print a number is slow. Trust the size on the file you save in that case.
WebP export depends on the browser's canvas encoder. If it is missing, choose JPEG or PNG. JPEG fills transparency with the chosen background, default white, on the converters and on any JPEG export of a transparent PNG.
The tab is the session. A crash, a refresh, or a closed window drops the working bitmap. Download before you leave if you want the result. The in-memory handoff between pages expires after 30 seconds.
Where each shorter guide goes deeper
Use this page to choose a tool and to understand the privacy path. Use the shorter pages when one decision needs more detail.
Pixelate vs Blur is the comparison of blocks and softness, including why light settings fail on text. How to Blur a Photo is the step sequence and the sharp-center limits. Social media image sizes is the crop-then-resize path for posts, portraits, stories, and link previews. YouTube thumbnail size is the same path with the resolution, ratio, and file limits from YouTube's help page. Reduce image file size is the order of dimensions, quality, and format. JPG vs PNG vs WebP is the format comparison, and How to convert WebP to JPG is the conversion itself, including a WebP to PNG copy. Photo to pixel art and photo to sketch are the effect walkthroughs. Coloring page from a photo is the line-art preset and the print file. Free photo editing apps is the wider choice of browser editors when PixDazzle is the wrong shape of tool. How to change a photo background is the private workflow for a job this site does not implement.
The cards under this article link to every tool, and the list after the questions links to every one of those guides.