When not to make a watercolor photo
The effect is for a stylized picture: a profile, a post, a printable, or a gift. Skip it when the photo has to stay an exact record, such as an ID image or product documentation, or when tiny text must stay readable.
PixDazzle has no layers and no masks, so you cannot paint one cheek and leave the background photographic. You also need the right to edit and share the photo. A busy background, heavy shadow, or a wide group shot often turns into muddy patches. Crop first, or pick a clearer frame.
How to make a watercolor photo in the browser
The Watercolor page is under Artistic effects. It accepts a JPG, PNG, or WebP, runs on your device, and does not upload the file. Keep an untouched copy. The effect only offers a new download.
- Crop clutter in Crop Image if the subject is small, and download that tighter frame.
- Open Watercolor and add the file.
- Choose Classic wash, Loose & dreamy, or Ink & wash. The preview updates from the current settings.
- Adjust Wash size, Pigment levels, Edge darkening, Paper texture, Saturation, and Transparency while the subject still reads.
- Download PNG, JPEG, or WebP from the download panel once it looks right at normal size.
Choose a photo that keeps a clear subject
A portrait, a pet, a building, or a simple outdoor scene gives the washes something to follow. The source usually matters more than hunting for a stronger setting. Clear edges and ordinary lighting survive. Tiny foliage, patterned clothes, and several faces in one wide frame blend into color patches.
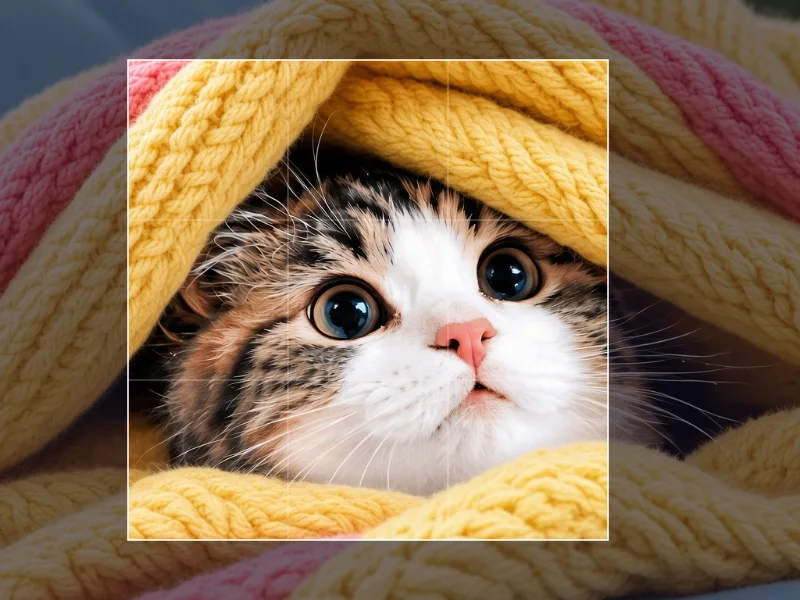
Crop Image is a separate page, and Watercolor has no crop control of its own. Frame the face, the animal, or the building so it fills more of the picture, export, then open that file in Watercolor. A group photo often works better as one tighter crop of the person who matters.
One subject reads. A crowd smears.
If eyes, a hairline, or a roofline disappear, crop closer and run the effect again from that export, rather than stacking the filter on itself.
Watercolor effect for portraits
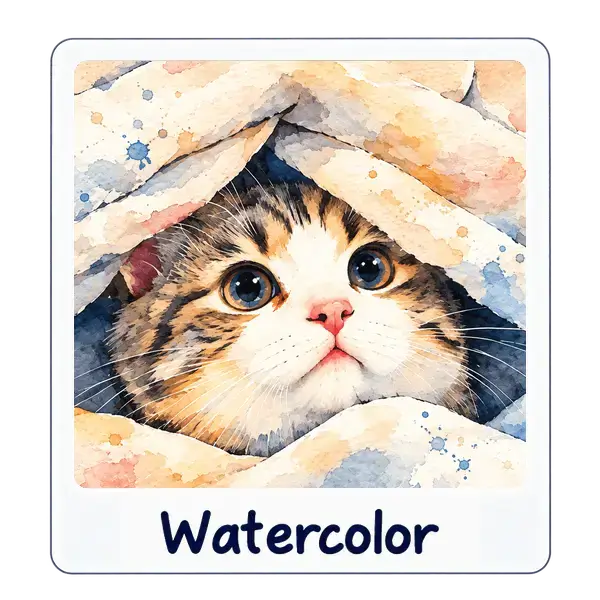
A watercolor effect for portraits softens photographic detail into washes while the face still reads as the same person. Open https://pixdazzle.com/effects/watercolor with a sharp, well-lit head-and-shoulders photo when you can. Visible eyes, mouth, hair edges, and separation from the background give the filter structure to follow.
Start with Classic wash or Ink & wash rather than Loose & dreamy when identity matters. Ink & wash keeps a smaller wash and stronger edge darkening, which often preserves jawlines and hair. Check the eyes, nose, mouth, jawline, and hair at normal viewing size before you download. If pupils or lips turn vague, lower Wash size, reduce Paper texture, or crop closer in Crop Image and run Watercolor again from the original export.
Motion blur, heavy shadow, and busy backgrounds leave less clean information for a painted look. A front-facing portrait with soft daylight and a plain wall usually simplifies more predictably than a dim group shot with small faces. PixDazzle has no layers or masks, so you cannot paint texture only on the background. Crop distractions first, then apply one restrained pass on the whole image.
- Apply the effect lightly first. A recognizable face matters more than heavy paper grain.
- Allow more wash texture across hair, clothing, and background than across eyes and mouth.
- Compare the download with the untouched original before you share it.
Set wash, pigment, edges, and paper
Wash size runs from 1 to 20 and defaults to 6. The blur radius is that number divided by 1000 of the shorter edge, and the wash is blurred twice, so a larger wash looks looser on a big photo and on the preview in the same proportion. Pigment levels run from 3 to 16 and default to 8. Each channel is blended halfway toward a stepped band, which is the flat pools of color. Edge darkening runs from 0 to 100 and defaults to 40. It puts darker pigment along edges so the subject does not dissolve.
Paper texture runs from 0 to 100 and defaults to 40. It darkens blotches and a fine fiber. It does not load a paper photograph. Saturation runs from 40 to 180 and defaults to 115. At 100 the photo's saturation is unchanged. Transparency runs from 0 to 60 and defaults to 15. It lifts each color toward white. The alpha of the source is copied through. The slider does not punch a transparent background, and a PNG download is not a cutout.
Classic wash is the default set above. Loose & dreamy uses wash 12, pigment 6, edge darkening 20, paper 55, saturation 105, and transparency 30. Ink & wash uses wash 4, pigment 10, edge darkening 75, paper 30, saturation 95, and transparency 10. Judge the preview at the size you will show. A result that looks rich when zoomed in can look noisy, or empty, at normal size.
| Preset | Wash | Pigment | Edges | Paper | Use |
|---|---|---|---|---|---|
| Classic wash | 6 | 8 | 40 | 40 | Balanced starting point |
| Loose & dreamy | 12 | 6 | 20 | 55 | Softer washes, more paper |
| Ink & wash | 4 | 10 | 75 | 30 | Darker edges, more detail |
Fix muddy color, harsh edges, and a flat subject
Muddy detail usually means the wash is wide for that photo, or the crop still includes a busy background. Lower Wash size, switch from Loose & dreamy to Classic wash or Ink & wash, or crop closer and start again from the original. Harsh outlines are the edge darkening. Lower that slider, or use Loose & dreamy, which sets it to 20.
Dull color is often the source. Saturation can go up from 100, and the default is already 115, but a badly lit photo will not become a clean painting. Flat faces come from a high wash and a high Transparency value, which lightens highlights toward white. Lower Transparency and compare with the original at the real viewing size.
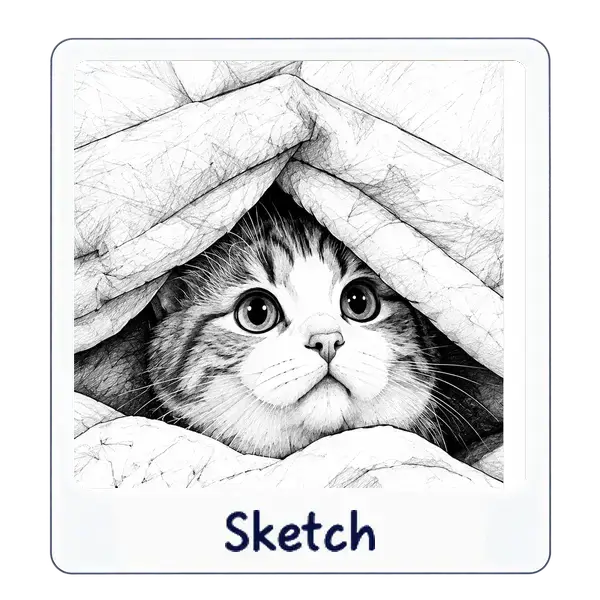
Thin branches and hair disappear when the wash radius is larger than those shapes. Ink & wash keeps a smaller wash and stronger edges. If they still merge, the photo needs a simpler crop, not another pass. Sketch is the pencil-drawing alternative when you want lines instead of washes. Kuwahara is a painterly smooth that keeps edges and does not add this paper grain. The photo to sketch guide covers the pencil controls.
- Muddy: lower Wash size, or crop closer before you apply the effect.
- Harsh edges: lower Edge darkening. Loose & dreamy starts at 20.
- Chalky highlights: lower Transparency. It lightens toward white.
- Flat color: raise Pigment levels toward 16, or lower Wash size.
Download the digital watercolor picture
The download panel offers PNG, JPEG, and WebP when the browser can encode them. PNG keeps the pixels without a quality slider. JPEG and WebP are the smaller photo files, and JPEG cannot store transparency that was already in the source. Do not pick PNG because you hope the watercolor has a clear background. It does not.
A finished digital watercolor picture can be a profile image, a post, a printable, or a gift, if you have permission to use the source. Look at it at normal size before you share it. Keep the original so a later crop can start clean. Photoshop is the other route when you need a mask: Adobe's help pages describe converting a layer to a Smart Object so a filter stays editable as a Smart Filter. That is extra work, and it is the right work when one face needs a selective correction. For a whole-image wash, Watercolor is the shorter path.
The free browser photo editing guide explains how the preview and the download are both rendered on your device. The free browser photo editors guide is the wider comparison when this effect is only one of the jobs.