What a coloring page from a photo needs
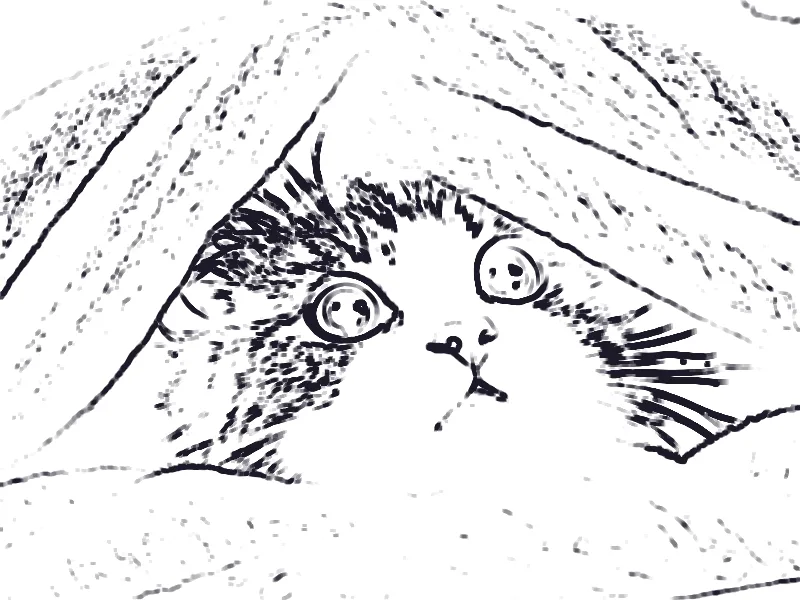
Coloring pages work when the subject is a closed-enough outline and the background is quiet. Image to Line Art builds that from the photo's edges. It blurs slightly when smoothing is on, finds edges, and draws ink where the edge is strong enough. The ink is a near-black color on white paper.
The Coloring page preset is the starting point meant for this job: detail 40, thickness 3, smoothing 2, and the invert control off. Detailed is the opposite, with detail 80 and thickness 1, which traces fur, leaves, and fabric. Chalkboard flips the colors to white lines on a dark field, which is a look, not a page you color with markers.
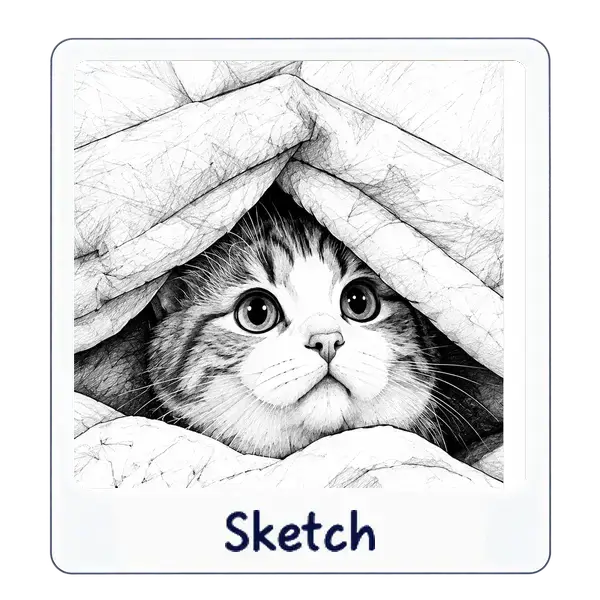
Photo to line art here means those outlines. The Sketch effect is a pencil drawing with gray shading, and it is the wrong file to print as a coloring sheet. Use Sketch when you want the drawing itself to be finished.
Make the coloring page in Image to Line Art
The tool runs in the browser on a JPG, PNG, or WebP. It does not upload the photo.
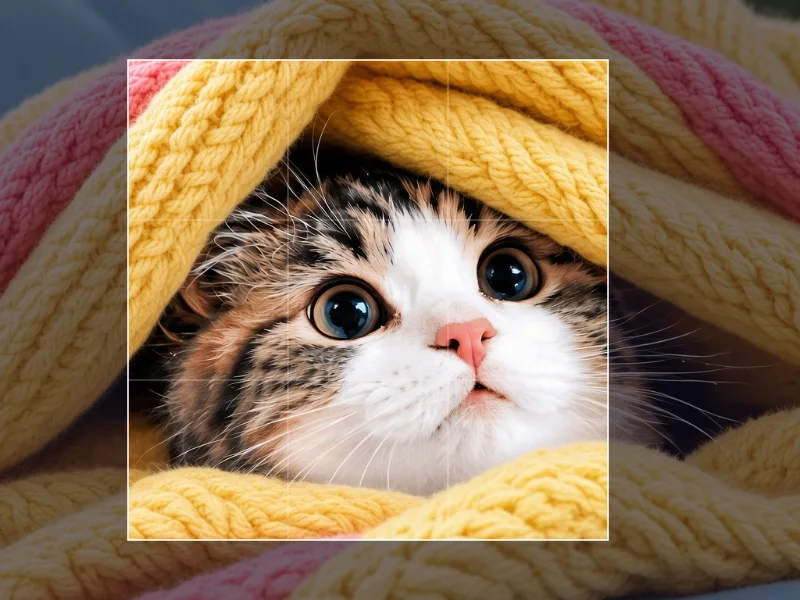
- Crop the photo first if the subject is small. A face or object that fills the frame produces a page someone can actually color.
- Open Image to Line Art and add the cropped file.
- Choose the Coloring page preset and look at the preview before you move sliders.
- Adjust Detail, Line thickness, and Smoothing. Leave White lines on dark turned off.
- Download PNG so the white paper is not JPEG-compressed. JPEG is fine for sharing a preview.
Set detail, thickness, and smoothing
Detail runs from 0 to 100. Higher detail keeps fainter edges, which adds wrinkles, hair, and background clutter. Line thickness runs from 1 to 6 and is scaled to the photo, using a 1000 pixel edge as the reference, so a large file and its preview keep a similar weight. Smoothing runs from 0 to 6 and blurs the photo before edges are found, which drops fine texture.
- Too speckled: raise Smoothing, then lower Detail.
- Subject disappearing: raise Detail before you lower Smoothing.
- Lines too thin to print: raise Line thickness. The Coloring page preset already uses 3.
- A dark poster instead of a coloring page: turn White lines on dark off.
| Preset | Detail | Thickness | Smoothing | Use |
|---|---|---|---|---|
| Coloring page | 40 | 3 | 2 | Simpler outlines on white |
| Detailed | 80 | 1 | 1 | Finer tracing, more texture |
| Chalkboard | 55 | 2 | 1 | White lines on dark |
Simplify the photo before you trace it
A plaid shirt, a chain-link fence, or leaves behind a head all become lines. Crop Image can remove that backdrop. If the texture is on the subject, a light pass through Blur Image first can help. The Soft preset blurs the whole frame at amount 15. Export, then open that file in Image to Line Art. Do not use a strong blur or you will lose the outline you wanted.
Grayscale Image is optional. Line art already converts to brightness before it finds edges, so a black-and-white photo is not required. High contrast still helps: a subject that blends into the background produces a broken outline no matter which preset you pick.
One subject, one page
Group photos and wide scenes turn into a thicket of lines. Crop to one person, pet, or object, make the page, then repeat for the next subject if you need a set.
Print the page and color it
PNG is the print file. Open the download and check that the lines are dark, the background is white, and the eyes, hands, or other small shapes are still separate regions. If two regions merged, raise Detail slightly and export again from the original, not from the PNG you just made.
Print at the size of the paper. You do not need to upscale the line art in Resize Image. Enlarging does not add cleaner lines. If the photo was small to begin with, a thicker Line thickness setting is the control that helps, up to 6.