What does it mean to make an image clearer?
To make an image clearer means improving how easily viewers can see its useful detail. That may involve resizing for its intended display, choosing a format that preserves quality at a reasonable file size, cropping so the subject fills the frame, or softening distractions with blur. PixDazzle does not offer a sharpen or detail-recovery control.
Sharpness describes edge definition. A slightly soft portrait may look better after a restrained sharpening adjustment in a dedicated editor, but that is outside PixDazzle's tool list. Resolution describes pixel count. Resizing a 600-pixel product photo to 1,800 pixels in Resize Image changes dimensions; it cannot recreate fine label text that was never captured.
Blur describes lost definition from camera movement, missed focus, or an intentional effect. Compression reduces file size. Repeatedly saving a compressed JPG can produce blocks and smudged textures. A clearer image is a practical result, not a promise of recovered detail.
- Skip aggressive editing when the source is too small for the final placement.
- Stop when compression blocks, halos, or muddy textures appear.
- For legal, medical, or identification material, use the original file or request a new capture.
How to make an image clearer in a few steps
The fastest workflow prevents one common mistake: changing several settings before you know what caused the problem. Open the PixDazzle tool that matches the fault and work from the original file.
- Start with the original. Choose the camera export, design file export, or first-generation download rather than a screenshot of a screenshot. Keep a copy untouched.
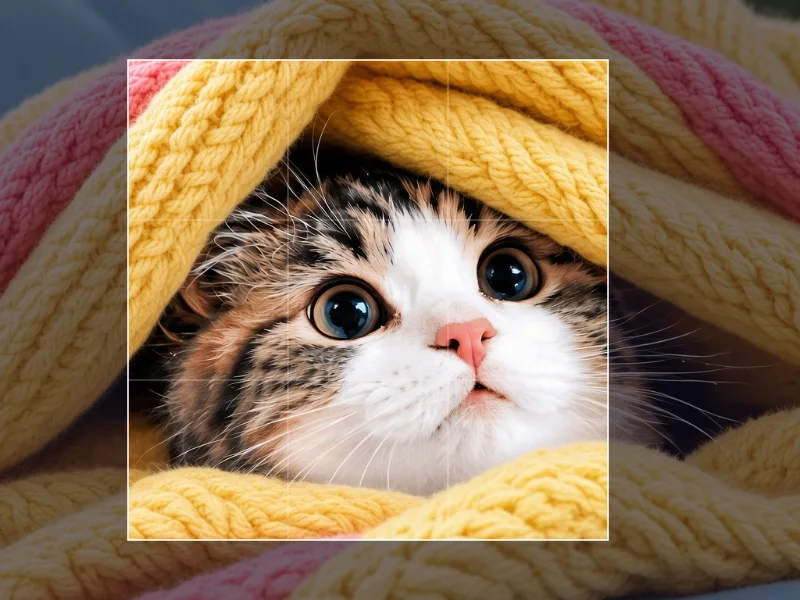
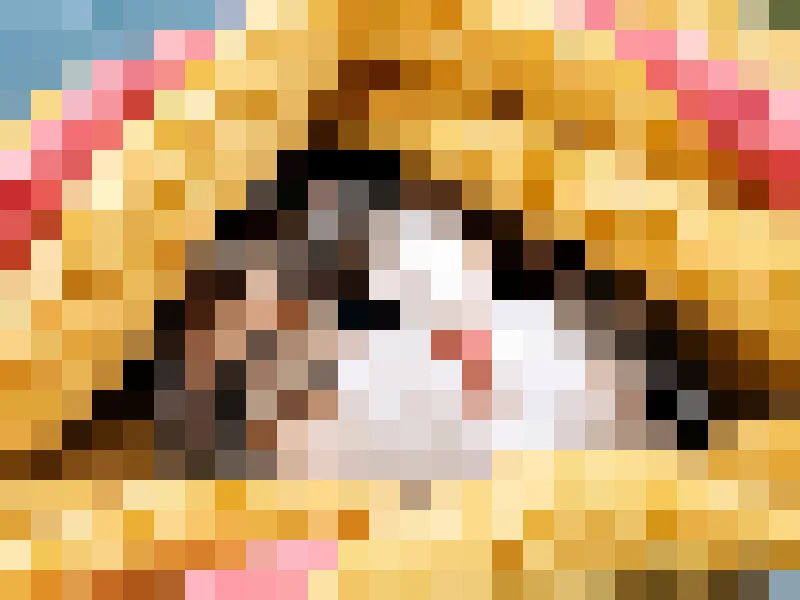
- Choose the edit that matches the fault. Use Resize Image when the image needs different dimensions, Compress Image when the file is too large, Crop Image when the subject is too small in the frame, or Blur Image when you want to soften distracting detail. For an intentionally low-resolution design, Pixelate Image may be the right creative choice.
- Preview before downloading. Check small text, hair, fabric, product edges, and flat color areas at 100% view. A thumbnail can hide ugly halos or compression blocks.
- Download once the result works. Save the edited version as a new file, then place that file in your site or campaign. Avoid repeatedly opening and re-saving a JPG.
Example: a soft banner export
A marketer with a soft 1,200-pixel banner can resize it to the layout's actual display width in Resize Image, inspect the headline, and compress the final copy in Compress Image. If the letters still look muddy, a larger original is the real fix.
Choose the right PixDazzle tool for a clearer picture
Tool choice determines whether you improve usability or simply make a larger version of the same problem. Use the least destructive option that solves the job.
| Problem | PixDazzle tool | What to expect |
|---|---|---|
| Image is too small for its placement | Resize Image | Better dimensions for the layout, with no new captured detail |
| File takes too long to send or load | Compress Image | A smaller file, balanced against visible quality |
| Subject needs tighter framing | Crop Image | A new composition without adding pixels |
| Private or distracting detail needs softening | Blur Image | Less definition in selected or overall areas |
| Design needs a deliberately blocky style | Pixelate Image | Intentional low-resolution texture |
| File format causes workflow problems | PNG, JPG, or WebP conversion | A compatible file with format-specific quality tradeoffs |
Resize, crop, and format choices that help clarity
Resize Image first when a website needs a predictable display size. For responsive pages, developers can also provide suitable image dimensions for different screens. MDN describes responsive images as images that work across differing screen sizes and resolutions at https://developer.mozilla.org/en-US/docs/Web/HTML/Guides/Responsive_images
A conversion from PNG to JPG in PNG to JPG can reduce size for a photographic image, while JPG to PNG or JPG to WebP may suit workflows that need a different extension. PNG often suits flat graphics and transparency. Test the actual file rather than assuming one format always wins.
Use Blur Image to remove distractions, not to restore focus. Pixelate Image belongs to a visual treatment or privacy workflow. It will make a picture clearer as a design choice only when the block pattern is intentional.
How to make a blurry image look clearer
First identify the blur. Motion blur creates directional streaks, focus blur softens the whole subject, and ordinary softness can come from a small source, lens limitations, or repeated compression. Each case has a different ceiling.
For a mildly soft photo, start with the clearest source you have. Dedicated editors may offer sharpening filters. Adobe's Photoshop sharpening guidance at https://helpx.adobe.com/photoshop/desktop/effects-filters/smart-filters/sharpening-overview.html explains sharpening as a way to improve edge definition, while its use also requires care around noise and halos. PixDazzle does not include that control.
A useful example is a product photo whose label edges look soft after a website export. If a gentle edit in another program makes the label easier to read without creating bright outlines, keep it. If the letters become crunchy or colored noise appears in the background, undo it and locate a higher-resolution export.
Severe blur usually cannot be reversed reliably. Avoid presenting an edited frame as proof of unreadable text or an identity. Mild softness may improve in a sharpen-capable editor, while missing or smeared detail stays missing. Compare every edited photo with its original at full size before judging clarity from a small preview.
Make a picture clearer for common uses
The final destination sets the useful balance between dimensions, clarity, and file size. A file that works for a message may look poor across a website hero area.
- Social media. Crop Image to the composition and dimensions required by the destination. Keep important text away from edges, then inspect the uploaded preview because platforms may resize or recompress it.
- Websites and blogs. Export close to the display size in Resize Image instead of placing a tiny image inside a large container. Use responsive image practices for layouts that serve different screen widths, as described in MDN's responsive images guide.
- Email and messaging. Compress Image on a copy when the original is too large to send. Keep the full-quality source separately for later use.
- Printing. Start with the largest original available and check the print dimensions before editing. Enlarging a small web thumbnail in Resize Image rarely produces a crisp physical result.
Privacy-friendly image editing in your browser
Browser editing is useful when you need a quick result without installing desktop software or creating an account. PixDazzle offers image effects and tools such as Resize Image, Crop Image, Compress Image, Pixelate Image, Blur Image, Grayscale Image, Image to Line Art, and format conversion through its website.
Open a tool, select your file, make the adjustment, preview it, and download the result. PixDazzle processes images on your device in the browser, and images are not uploaded to PixDazzle servers. Read https://pixdazzle.com/about for the site's explanation of that workflow.
Keep the original on your device until you have checked the download. Browser processing also means your result depends on the device and browser handling the edit, so inspect the downloaded file rather than trusting a preview alone.
A quick checklist for a clearer image
Run through this list before you publish, send, or print:
- Use the largest, clearest original file available.
- Identify the problem: softness, blur, small dimensions, file size, or format.
- Choose Resize Image, Compress Image, Blur Image, Pixelate Image, Crop Image, or conversion for that specific problem.
- Keep edits restrained; stop when halos, noise, blocks, or muddy textures appear.
- Check the final width, height, format, and file size for its destination.
- Compare the download with the original at full size.
- Keep the untouched original and use the edited file as a separate copy.
When the source is the limit
If the image still looks unclear after this check, find a better source rather than stacking more edits. A new export from the camera, design file, or original upload will usually beat another pass through compression alone.
Sources and further reading
External references cited above:
- Adobe: sharpen photos and artwork in Photoshop - https://helpx.adobe.com/photoshop/desktop/effects-filters/smart-filters/sharpening-overview.html
- Adobe: enhance image quality in Lightroom - https://helpx.adobe.com/lightroom/desktop/edit-photos/enhance-details.html
- MDN: using responsive images in HTML - https://developer.mozilla.org/en-US/docs/Web/HTML/Guides/responsive_images