
What photo sizes actually measure
Pixel dimensions are width and height in pixels, such as 2000 by 1500. In this image dimensions guide, size can also mean inches on paper, pixels per inch for print, aspect ratio, or file size in KB or MB. Each answers a different question.
A 2000 by 1500 image has a 4:3 aspect ratio because 2000 divided by 1500 is about 1.33. You might crop it to a square post or to a 16:9 banner before resizing. Adobe documents how dimensions, resolution, and resampling relate at https://helpx.adobe.com/photoshop/desktop/crop-resize-transform/resize-adjust-resolution/image-size-resolution-and-resampling.html
PPI, pixels per inch, helps estimate print detail. It does not by itself define on-screen sharpness. File size depends on dimensions, format, compression, metadata, and image content.
Photo sizes for printing
Start from the physical print size and the printer's recommended resolution. Three hundred ppi is a common reference, not a universal rule. Follow the print shop's specs when they differ.
For 4 by 6 inches at 300 ppi, multiply each side: about 1200 by 1800 pixels. For 8 by 10 inches, about 2400 by 3000 pixels. These numbers assume the image ratio already matches the paper. A 4:3 camera file may need cropping before it fits 4 by 6.
Adobe's print resolution notes are at https://helpx.adobe.com/photoshop/desktop/crop-resize-transform/resize-adjust-resolution/resolution-specs-for-printing-images.html Enlarging a small portrait cannot invent detail the camera never captured. Upscaling softens eyes, hair, and fine edges.
- Crop Image: set the print ratio, position the subject, download.
- Resize Image: Exact size, enter the pixel width and height, Fill & crop, no Stretch.
- Do not upscale a small file to hit a large print size. Export at the largest clean crop you have.
Photo sizes for websites
Website photo sizes should match the largest display width, not the full camera original by default. A product shown in a 900 pixel content column rarely needs several thousand pixels on the long edge.
Pixel dimensions and file size are separate. A correctly sized image can still weigh too much because of metadata or heavy compression. Check your CMS or host documentation instead of assuming one universal megabyte cap.
Responsive layouts should shrink images without distortion. W3C technique C37 describes fitting images with CSS max-width and height at https://www.w3.org/WAI/WCAG22/Techniques/css/C37 Google Search Central image guidance covers filenames, alt text, and HTML img elements at https://developers.google.com/search/docs/appearance/google-images?hl=en
Resize Image can scale down with Width mode. Compress Image lowers JPEG or WebP quality and can cap the longest edge. The reduce image file size guide walks dimensions, quality, and format in order.
Social, Pinterest, and where to read platform sizes
Social media photo sizes depend on the placement: square feeds, wide link previews, and tall stories each want a different ratio. Platforms change numbers often, so read their help pages before a batch export.
The social media image sizes guide on PixDazzle lists common feed and story starting points and the crop-then-resize order in Resize Image and Crop Image. This page does not repeat that table.
Pinterest's Pin specifications list supported formats and upload limits and recommend keeping text inside safe zones. Review https://help.pinterest.com/en/article/review-pin-specs before you publish pins.
YouTube thumbnails use a different aspect ratio and pixel target. The YouTube thumbnail size guide covers 16:9 crops and file limits from YouTube Help.
Resize a photo without blur or distortion
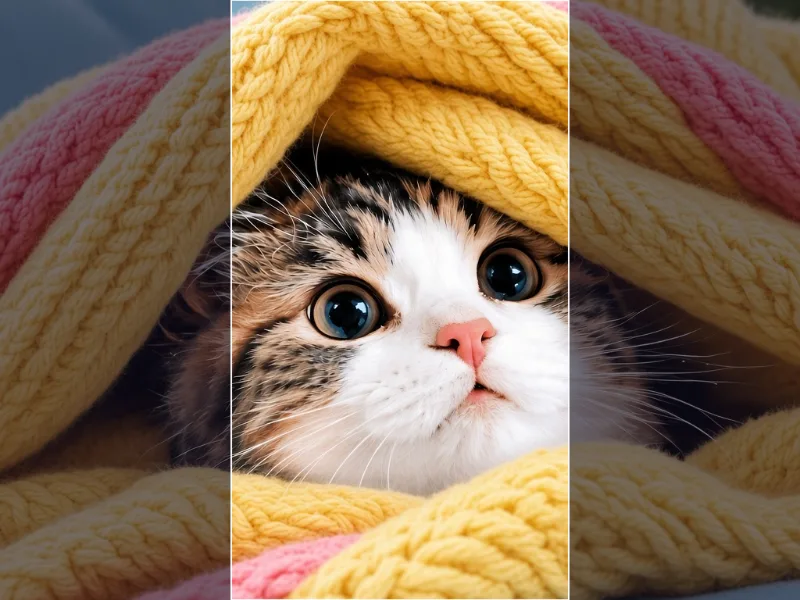
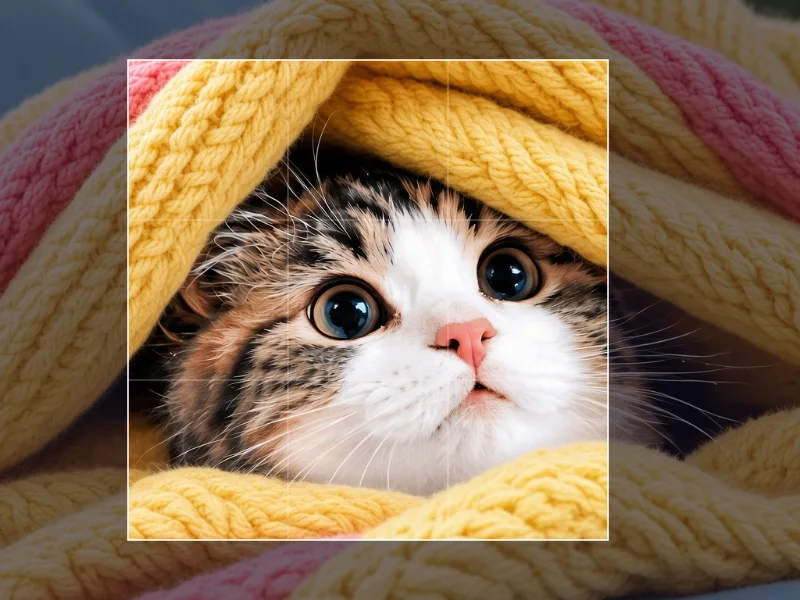
Choose the final aspect ratio before you change pixel dimensions. Crop first so the subject stays inside the frame, then resize to the required width and height in Resize Image.
Resampling changes pixel count. Shrinking usually keeps acceptable detail. Enlarging estimates new pixels and can soften texture. No tool restores detail that cropping or a small original already removed.
Example: a 2000 by 1500 travel photo at 4:3 for a 16:9 banner needs a crop that removes top, bottom, or sides, then a resize to the banner's final size. Stretching the full frame makes people look wider and buildings look tilted.
Crop for composition, resize for pixels
Crop Image controls what stays in the frame. Resize Image controls how many pixels you export.
Export format and final photo file size
JPEG suits most photographs when you need a smaller file. PNG fits graphics, transparency, or lossless edges. Pick by image type and destination, not by habit.
Export quality, dimensions, metadata, and compression all affect file size. Very low JPEG quality shows blocky edges and color bands, so check the export at its intended display size.
Use Compress Image after dimensions are right. PNG to JPG and JPG to PNG re-encode the pixels when you need a different extension. The JPG vs PNG vs WebP guide compares when each format earns its size.
- Confirm required pixel dimensions.
- Check aspect ratio and crop.
- Choose JPEG, PNG, or another accepted format.
- Inspect sharpness and compression.
- Verify the destination upload limit.
Sources and further reading
External references used in this FAQ:
- Adobe: image size, resolution, and resampling - https://helpx.adobe.com/photoshop/desktop/crop-resize-transform/resize-adjust-resolution/image-size-resolution-and-resampling.html
- Adobe: print resolution - https://helpx.adobe.com/photoshop/desktop/crop-resize-transform/resize-adjust-resolution/resolution-specs-for-printing-images.html
- Google Search Central: image SEO - https://developers.google.com/search/docs/appearance/google-images?hl=en
- W3C WCAG: responsive image fitting (C37) - https://www.w3.org/WAI/WCAG22/Techniques/css/C37
- Pinterest: Pin specifications - https://help.pinterest.com/en/article/review-pin-specs