What a photo to pixel art effect actually changes
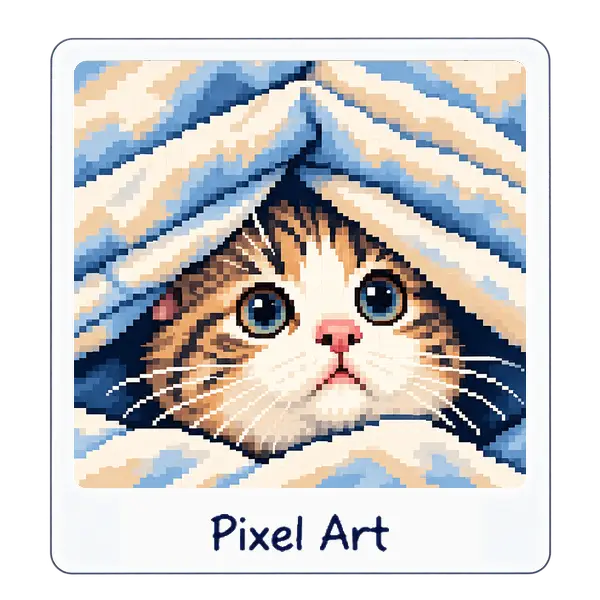
Pixel Art divides the picture into cells. Pixels across sets how many cells fit along the width, and the cell size is that width divided by the count, so the height follows the photo's shape. Each cell becomes the average color of the pixels inside it.
That average is then limited. Full color and Grayscale quantize into the number of steps you set with Color levels, from 2 to 16. Handheld green uses a fixed 4-color green palette. 16-color console uses a fixed 16-color palette. Dithering does not add new colors. It places neighboring shades in an ordered pattern so the eye reads extra tones.
The whole effect runs on your device. There is no separate pixel-art model and no upload. The download can be PNG, JPEG, or WebP.
Turn a photo into pixel art in four steps
Use a copy of the photo. The effect never overwrites the file you picked. It only offers a new download.
- Open the Pixel Art effect and add a JPG, PNG, or WebP.
- Pick a preset: Sprite, Handheld, Fantasy console, or Chunky. The preview updates immediately.
- Adjust Pixels across, Palette, Color levels, Dithering, and Saturation until the subject still reads.
- Download PNG if you want the hard edges kept exactly, or JPEG if you need a smaller file.
Choose pixels, palette, and dithering
The default is 80 pixels across, Full color, 6 color levels, 30% dithering, and 115% saturation. That is a middle setting: recognizable, not a tiny sprite. Saturation runs from 0 to 200, and 100 leaves the photo's saturation alone.
- Sprite and Chunky are the places to start for how to make pixel art that looks drawn rather than filtered.
- Handheld is the green four-color look. Color levels does not add colors on that palette or on 16-color console.
- Raise dithering when a face turns into flat bands. Lower it when you want solid, poster-like cells.
- Grayscale drops the hue and still uses Color levels for the number of gray steps.
| Preset | Pixels across | Palette | Other settings |
|---|---|---|---|
| Sprite | 64 | Full color | 5 levels, 30% dither, 120% saturation |
| Handheld | 120 | Handheld green | 60% dither, 100% saturation |
| Fantasy console | 96 | 16-color console | 40% dither, 110% saturation |
| Chunky | 32 | Full color | 4 levels, no dither, 130% saturation |
How to make pixel art that still reads
A busy background becomes a field of noisy cells. Crop Image first so the subject fills more of the frame, then run Pixel Art. A simple backdrop, a clear outline, and a face that is large in the crop all survive a low pixel count better than a wide landscape.
If 32 pixels across loses the eyes, step up through 48, 64, and 96 rather than jumping to 200. At the high end the result is a slightly blocky photo, which is a different goal. Check the downloaded file, not only the preview. The preview is scaled for the page, and the export uses the original pixel size.
Pixel Art is not the Pixelate tool
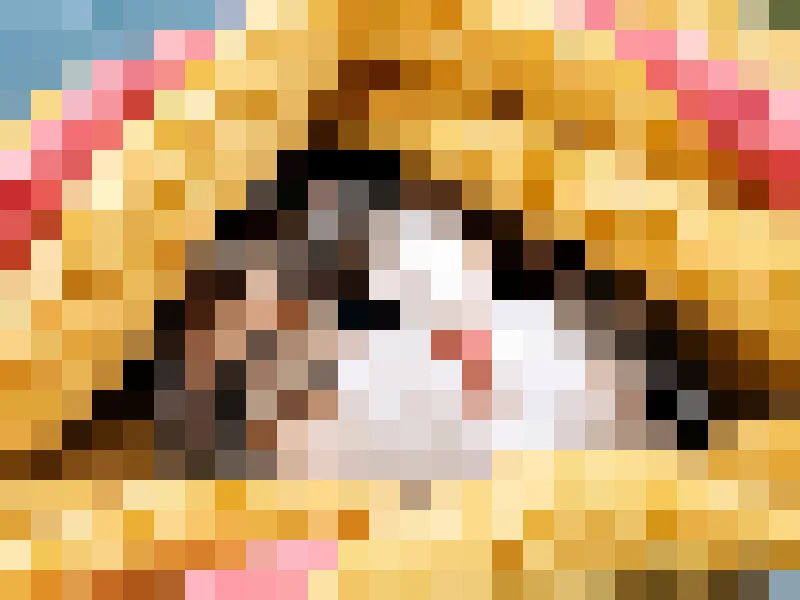
Pixelate Image only enlarges blocks, with Light, Medium, and Heavy presets, and it can hide detail. Pixel Art also limits the palette and can dither. Use Pixelate when you want concealment or a plain mosaic. Use Pixel Art when you want a game-sprite look. The pixelate versus blur guide covers the concealment case.
Export the pixel art without extra blur
PNG does not add a quality pass, so the cell edges stay crisp. JPEG and WebP are lossy. The quality slider on those formats starts at 92%. A low JPEG quality can ring around the hard color steps, which fights the pixel look.
If the file has to be small afterward, compress once from this export, not from a second JPEG save. The reduce image file size guide is the place for that step.